Uploading Images to Cloudinary from Vue.js Applications
Basic Requirements
- A Cloudinary account. Sign up here if you do not have one
- Node.js and Vue-CLI installed on your system
What is Cloudinary?
Cloudinary is a Software-as-a-Service (SaaS) platform for executing realtime image processing and delivery. An advantage of using Cloudinary in your applications is that is makes use of a Content Delivery Network (CDN) for serving images thus increasing site speed and performance. Cloudinary also handles storage for all media types so you don’t have to worry about storing them on your server and consuming memory.
![]()
What are we trying to achieve?
In this post, we will be uploading an image to Cloudinary from a Vue.js frontend and then saving the link to the image in a MySQL database by sending a
POSTrequest to a backend API bulit with Node and Express.
Let’s Begin…
First, let’s start by creating a simple API endpoint to store the image link in our database.
- Create a new project folder and name it
backend(you can give it any name you want really) - Open up a terminal in the folder and run
npm init --forceto initialize our package manager. The--forceattribute is for initializing ourpackage.jsonfile with the default requirements. - Now we need to install the dependencies we will be using for our API:
npm install --save express cors sequelize body-parserWe’ll be using sequelize for creating our database models (files to help you structure your data and your interaction with the database), cors for allowing the frontend to communicate with our API from a different port, and body-parser for getting data from the body of the request.
- Create a subfolder called
configand enter the following inconfig/db.js
const Sequelize = require('sequelize');


const sequelize = new Sequelize('images', 'root', null, {
  host: 'localhost',
  dialect: 'mysql'
});

module.exports = sequelize;- Create another subfolder named
modelsand enter the following inmodels/image.js:
const sequelize = require('../config/db');
const { DataTypes } = require('sequelize');

const Image = sequelize.define('Image', {
    id: {
        type: DataTypes.INTEGER,
        primaryKey: true,
        autoIncrement: true,
    },
    url: {
        type: DataTypes.STRING
    },
});

module.exports = Image- We can now create the entry point for our API. Create a file named
app.jsin the root of your directory and enter the following:
var express = require('express')
var cors = require('cors')
var Image = require('../models/image')


var app = express();
app.use(cors());
app.use(express.json());
app.use(express.urlencoded({ extended: false }));

app.listen(3000, () => {
    console.log("API running on port 3000")
})

app.post('/images', async (req, res) => {
    try {
        let { url } = req.body

        let newImage = await Image.create({
            url
        })

        res.send(200, `Your new image has been created and the url is ${newImage.url}`)
    } catch(err) {
        console.error(err)
        res.send(500, "Internal Server Error")
    }
})
We have now created a simple API endpoint for posting a Cloudinary image URL to our database. You can now proceed to setting upload presets on your Cloudinary account:
When uploading to cloudinary, you’ll want to set certain parameters for how your uploads should be transformed/optimized, the folder you want to upload to and many more options.
- First, log in to Cloudinary and copy your
API Base URLfrom the dashboard. It’s somewhat of this sort:https://api.cloudinary.com/v1_1/*YOUR-CLOUDINARY-USERNAME* - The next thing you want to do is to add an unsigned upload preset. This will enable us to upload to cloudinary directly from the browser:
- Click the settings(⚙) icon on your dashboard, and from there, proceed to the “Upload” tab.

- Scroll to the bottom where you would see the “Upload Presets” option. Unlock a new unsigned preset and copy the name of this unsigned preset to your dashboard (for the purpose of this tutorial, we will not be making any additional configurations)

- Click the settings(⚙) icon on your dashboard, and from there, proceed to the “Upload” tab.
Finally, we can proceed to scaffolding out the frontend of our application. We will use Vue-CLI to create a new Vue.js project.
- Open your terminal in a new directory and run
vue create frontendto roll out a new project for your frontend - Next, run the following command to install the dependencies we will be using:
npm install --save axiosWe will be using axios for making API requests to our backend.
- We will be using
bootstrapfor styling so include it in the head section ofpublic/index.html:
<link rel="stylesheet" href="https://stackpath.bootstrapcdn.com/bootstrap/4.3.1/css/bootstrap.min.css" integrity="sha384-ggOyR0iXCbMQv3Xipma34MD+dH/1fQ784/j6cY/iJTQUOhcWr7x9JvoRxT2MZw1T" crossorigin="anonymous" />- Create a new file in the
src/componentssubdirectory namedUpload.vueand copy the following into the file:
<template>
  <div class="container">
    <div class="col-md-6 mx-auto">
      <form @submit="uploadImage()">
          <div class="form-group">
              <label for="uploadInput">Upload your image here</label>
              <input @change="onFileChange" type="file" placeholder="Choose an image" required ref="file" name="" id="uploadInput" class="form-control">
          </div>
          <div class="form-group">
              <button class="btn-block">
                  Upload!
              </button>
          </div>
      </form>
    </div>
  </div>
</template>
We just created a form to call a function named uploadImage when submitted.
- Now, edit
src/App.vueto include the component you just created:
<template>
  <div id="app">
    <h4>VUE IMAGE UPLOADER</h4>
    <hr>
    <Upload/>
  </div>
</template>

<script>
import Upload from './components/Upload.vue'

export default {
  name: 'App',
  components: {
    Upload
  }
}
</script>

<style>

#app {
  font-family: Avenir, Helvetica, Arial, sans-serif;
  -webkit-font-smoothing: antialiased;
  -moz-osx-font-smoothing: grayscale;
  text-align: center;
  color: #2c3e50;
  margin-top: 60px;
}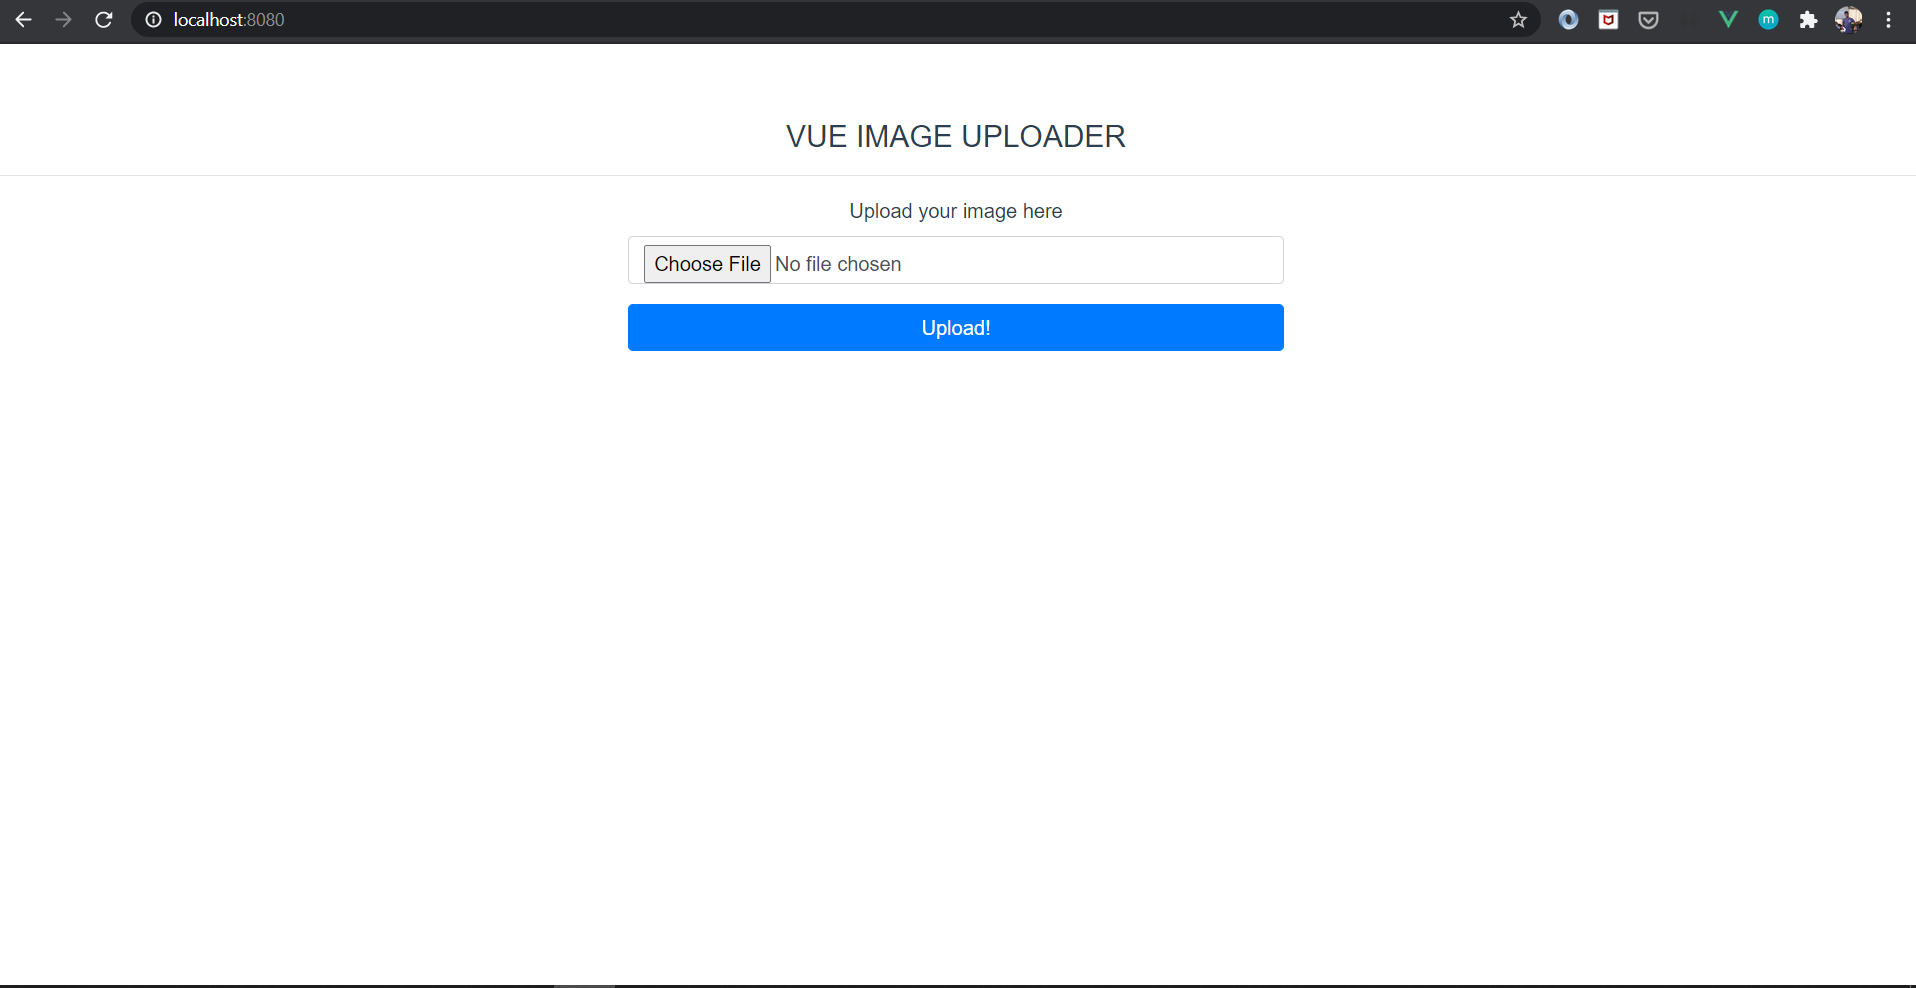
</style>- If you followed the above steps correctly, we would have this as our application frontend now:
- The next thing is to add our methods into the file’s script:
<script>

import axios from 'axios'

export default {
    name: "Upload",
    data() {
        return {
            image: null
        }
    },
    methods: {
        onFileChange(e) {
            var files = e.target.files || e.dataTransfer.files;
            if (!files.length)
                return;
            this.image = files[0];
        },
        uploadImage() {
            let formData = new FormData();
            let uploadPreset = "YOUR-UPLOAD-PRESET"
            let cloudinaryUrl = "CLOUDINARY-API-BASE-URL"

            formData.append('file', this.image);
            formData.append('upload_preset', uploadPreset)

            axios.post(cloudinaryUrl, formData)
            .then(res => {
                let imageUrl = res.data.secure_url;

                return axios.post(`http://localhost:3000/images`, {
                    url: imageUrl
                })
                .then(res => {
                    alert(res.data)
                })
                .catch(err => {
                    console.log(err)
                })
            })
            .catch(err => {
                console.log(err)
            })
        }
    }
}
</script>
Let us carefully consider the steps followed in the script:
- We created a function (
onFileChange) for adding the image to theimageproperty when the user selects a file. - We created a new instance of the
formDataAPI and stored the image properties and the upload preset in that instance. - We executed a
POSTrequest to the Cloudinary API base URL we copied earlier with a body offormData. - We retrieved the newly uploaded image’s URL from the
secure_urlproperty of the response object and we posted that to our API backend listening on port 3000
Having done that, you can check your cloudinary dashboard and you’ll see your new image uploaded there.
Thanks for reading 😊